
Featured Images on blog posts are used to add an image for that blog post onto the main page of the Blog/News section on your site.
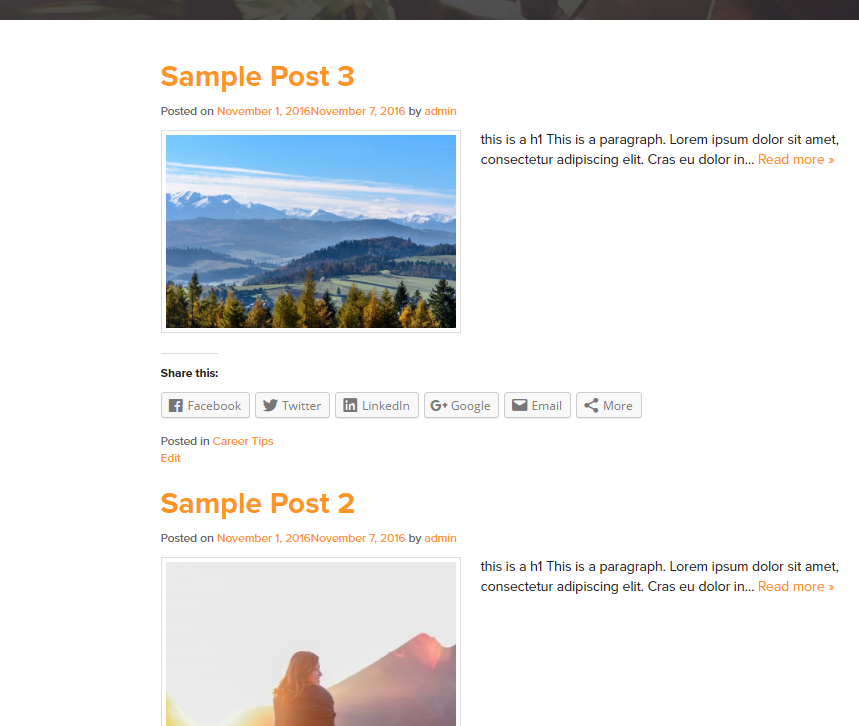
In the image above, the Featured Image is the image below the post title.
How is this set up in WordPress?
- Log into your WordPress account
- Go to Posts section and edit the blog post that needs a featured image.
- Scroll down the page until you see the "Featured Image" box on the right-side of the page:
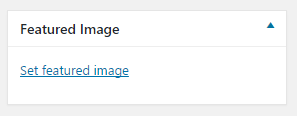
- Click "Set featured image" and upload/select an existing image from your WordPress media library (instructions on how to upload images to your media library) and click "Set featured image" red button.
- Once the image is selected, wait for the image to appear in the "Featured Image" box.
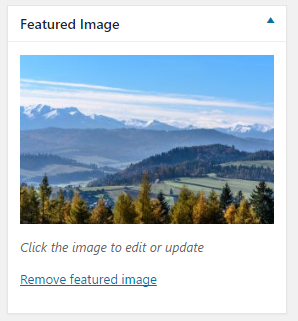
- Click the "Update" blue button under the "Publish" section of the edit page to make this live.
You're all set!
Examples:
Without a featured image:

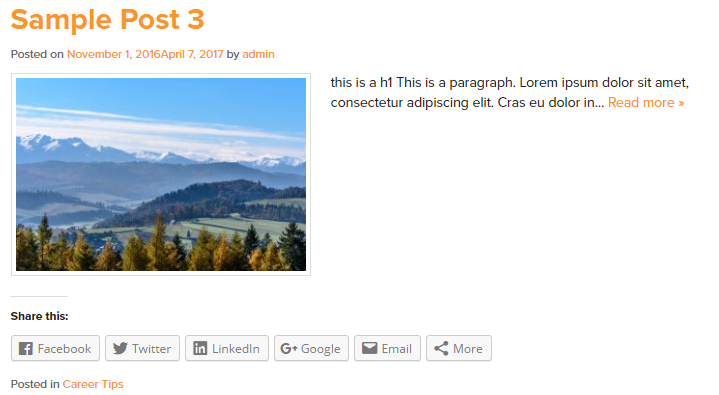
With a featured image:
Comments
0 comments
Please sign in to leave a comment.