
To create a new form on your website, login to WordPress and then navigate to Forms>New Form.
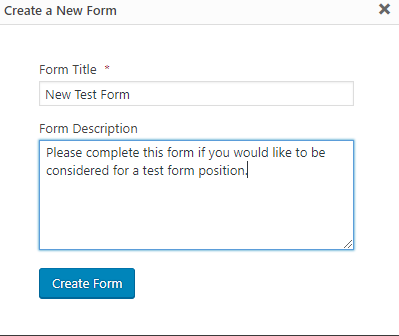
Once you click on Add New at the top, you will need to enter a Title for your form, and may enter a description as well.
Once you've done so, you should see this screen:
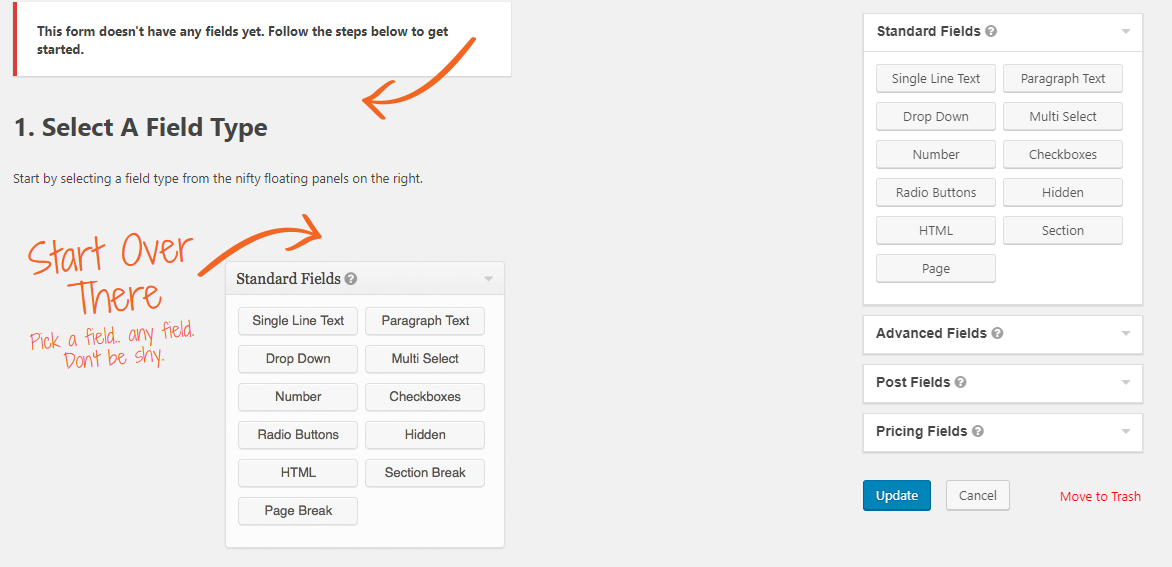
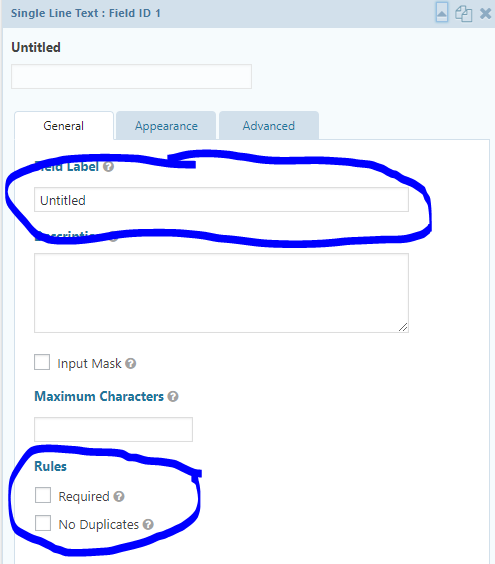
Drag and drop items into your form. You can change item headings, as well as mark an item as "required" on the form.
We do recommend checking out the Advanced Fields options and using Email and Name options from there, as that will make setting Notifications (see below) easier!
Once you have all of the items on your form, click Update and then head over to Settings>Notifications.
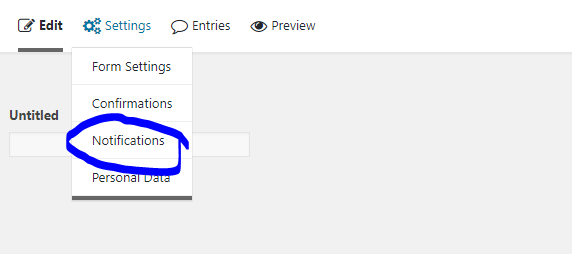
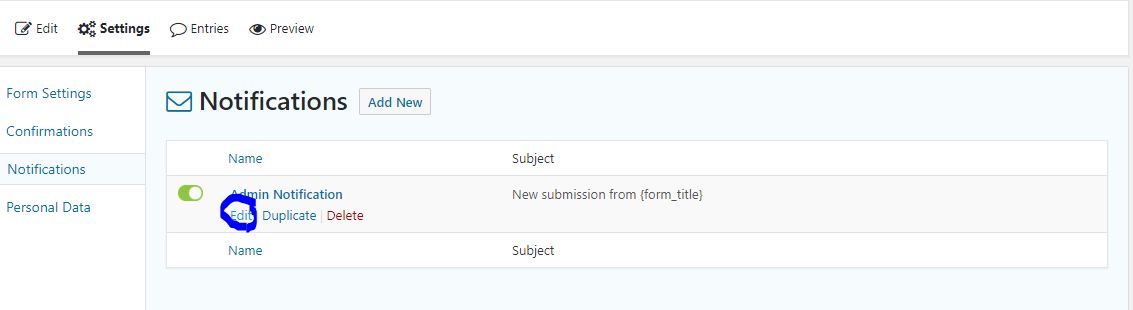
Once there click on "Edit" for the Admin Notification
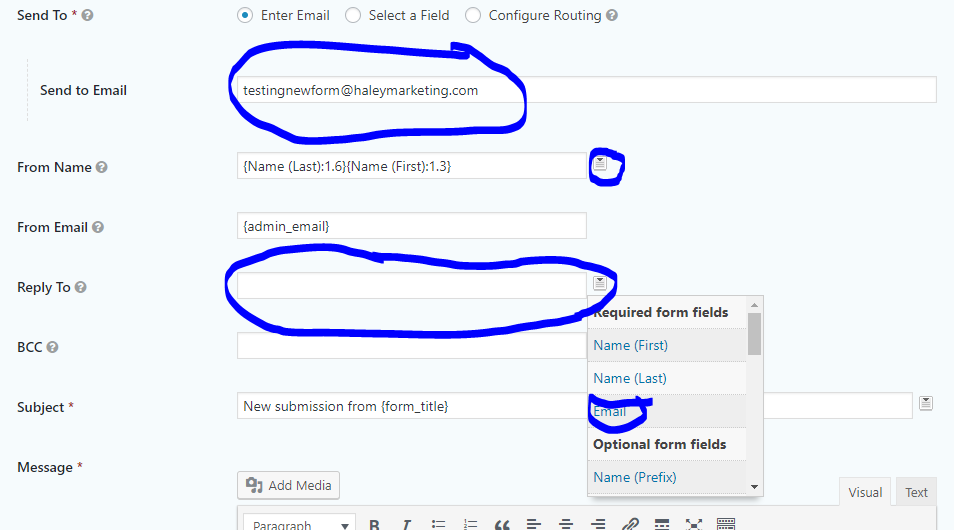
On this screen, you will set who should receive the notification, what the subject of the notification email should be titled, the email address that should receive a "reply" to the notification, as well as the content of the actual notification itself. If you've used the Advanced Fields of Email and Name in your form, you can choose these items as the "reply to" and "from name" fields (see below.)
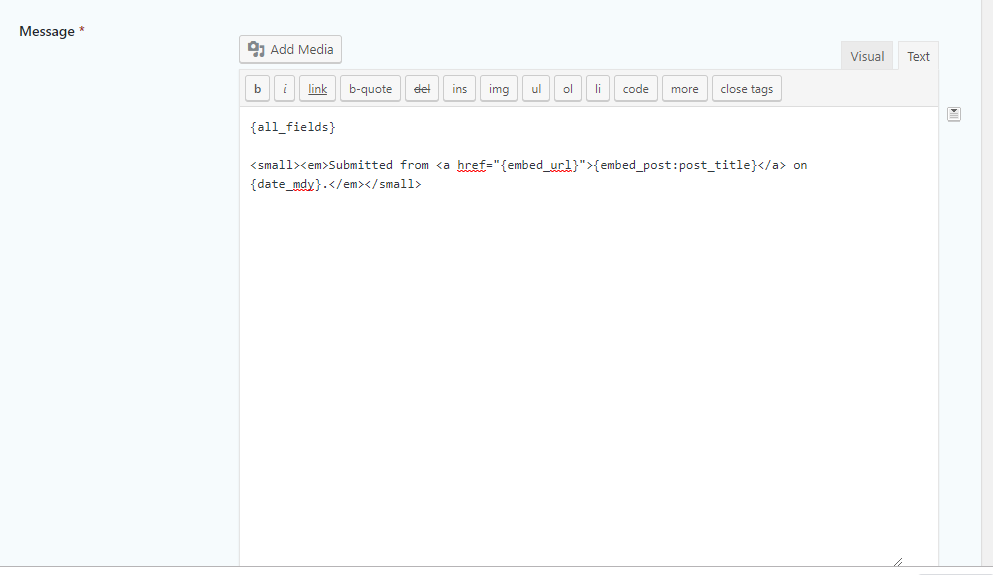
Once this is set, you'll want to include: {all_fields} in the message section, as well as a footer to help you track down the form if you need to later on: <small><em>Submitted from <a href="{embed_url}">{embed_post:post_title}</a> on {date_mdy}.</em></small>
Once you've done that, click "Update".
Another thing you will want to check on your forms are the confirmations. When adding a form, you can set a text confirmation right on the page, choose a page from the site (such as a Thank You page you built), or redirect (like to a PDF URL or another site).
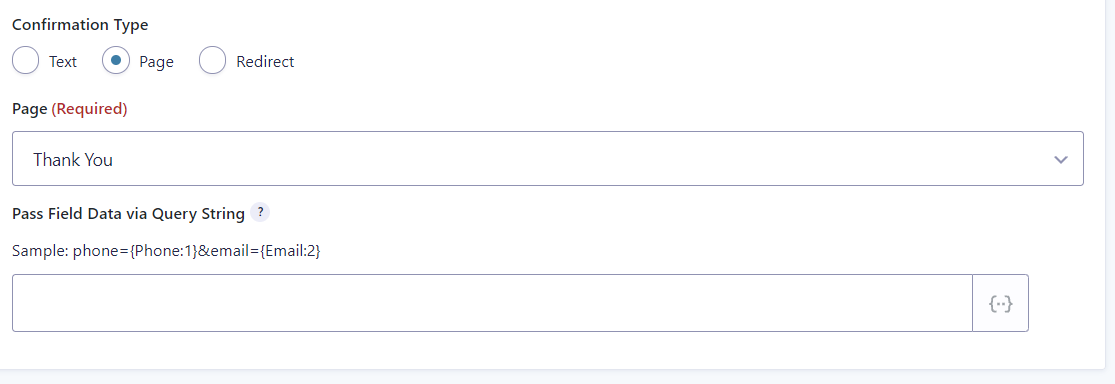
Once you've confirmed your confirmation settings are as you'd like them, your form is all set!
Comments
0 comments
Please sign in to leave a comment.