Create an account by clicking on "Sign in with email" and inputting an email address and password. The password needs to be longer than 5 characters.
This step may be skipped and Buffer may prompt you to connect your social accounts prior to setting up an account. If so, skip to step #2.
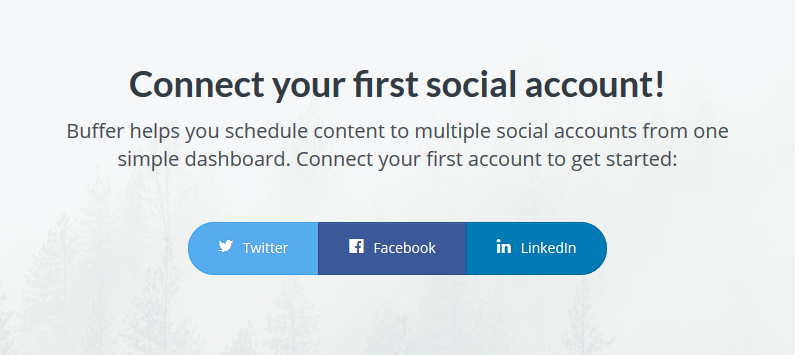
Connect your social accounts. Buffer will now prompt you to add one, or more, of your social accounts. Adding one, at this point, is required. After you add in one social account, you can either add an additional account or click "Skip this step" to proceed to the next step.
By clicking on a social icon to add, it will bring to you to that social network's site to verify login credentials before adding that account to Buffer.
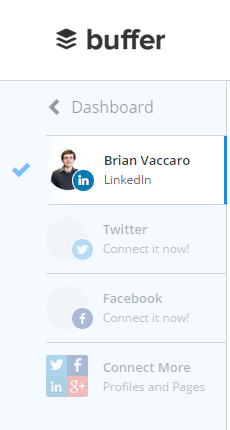
After adding your accounts, you will be at your "Dashboard". This is where you can schedule postings to each of your social networking sites.
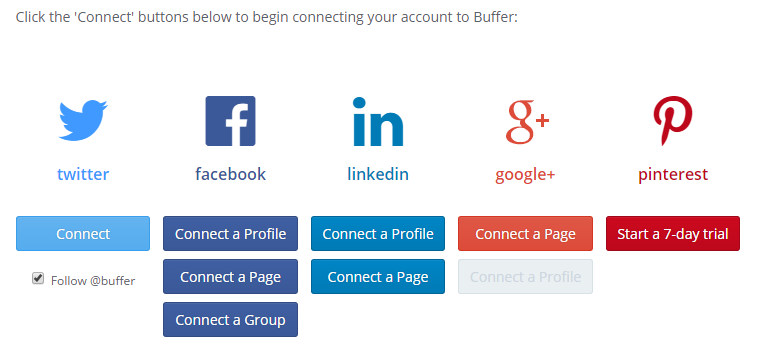
Dashboard – You can add additional accounts by clicking on "Connect it now!" on the left side of the dashboard. There is a wide variety of accounts that can be posted to through your Buffer account!
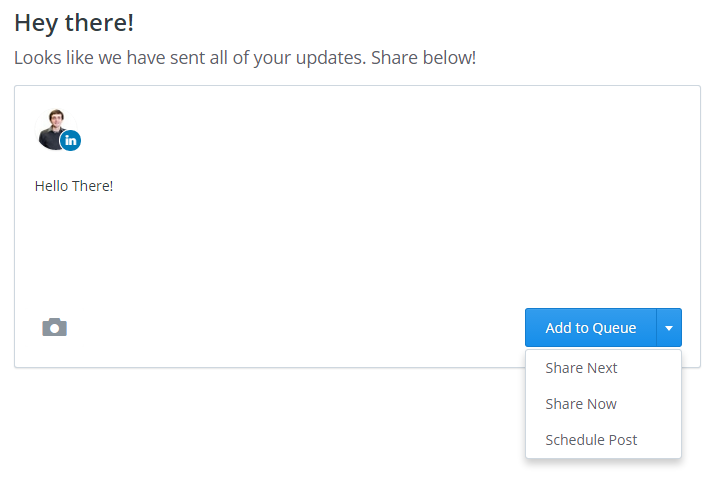
Content – This is where you can create new posts that will go out to your social media sites. You can also choose which sites it goes out on! Clicking "Add to Queue" gives you the options of when you want that new post to be shared.
Analytics – This has your data on views and shares from your Buffer-generated posts.
Schedule – This allows you to set when your posts are posted on the social media sites.
Don't forget…go to your "My Account" and update/change your password in the "Access & Passwords" section.

Comments
0 comments
Please sign in to leave a comment.